
-
Which the release of FS2020 we see an explosition of activity on the forun and of course we are very happy to see this. But having all questions about FS2020 in one forum becomes a bit messy. So therefore we would like to ask you all to use the following guidelines when posting your questions:
- Tag FS2020 specific questions with the MSFS2020 tag.
- Questions about making 3D assets can be posted in the 3D asset design forum. Either post them in the subforum of the modelling tool you use or in the general forum if they are general.
- Questions about aircraft design can be posted in the Aircraft design forum
- Questions about airport design can be posted in the FS2020 airport design forum. Once airport development tools have been updated for FS2020 you can post tool speciifc questions in the subforums of those tools as well of course.
- Questions about terrain design can be posted in the FS2020 terrain design forum.
- Questions about SimConnect can be posted in the SimConnect forum.
Any other question that is not specific to an aspect of development or tool can be posted in the General chat forum.
By following these guidelines we make sure that the forums remain easy to read for everybody and also that the right people can find your post to answer it.
You are using an out of date browser. It may not display this or other websites correctly.
You should upgrade or use an alternative browser.
You should upgrade or use an alternative browser.
Unusual Shading
- Thread starter N2056
- Start date


Paul Domingue
Resource contributor
- Messages
- 1,532
- Country

Rob, are you saying that you have cut the fuse up and are using three separate texture maps? If that is the case then ensure that all the material settings in Max are identical and also that you don't have an overlay in your PSP layers turned off or on by accident.
Paul Domingue
Resource contributor
- Messages
- 1,532
- Country
I was involved in a similar situation with someone else's textures and model. They were using Gimp and when I submitted a replacement bump map made in Photoshop that particular problem went away.For years I have done my bump maps using Gimp. I decided to try the Photoshop route. After getting the process figured out (I'm new to Photoshop) I can see a definite change for the better. Now it's time to experiment with settings...


Paul Domingue
Resource contributor
- Messages
- 1,532
- Country
Well if you're using Photoshop now with the Nvidia plugin it only takes 5 seconds to adjust the normals map once generated.Which is what I have done for years using a batch file. I think I learned how to do it back at FreeFlightDesign.
1. Copy red channel to alpha channel.
2. Paint red channel pure black.
3. Invert green channel.
4. Paint blue channel pure white.

Heretic
Resource contributor
- Messages
- 6,830
- Country

Which is what I have done for years using a batch file. I think I learned how to do it back at FreeFlightDesign.
Great minds think alike. (Or rather "two idiots, one thought"?)

hairyspin
Resource contributor
- Messages
- 3,253
- Country

Great minds think alike. (Or rather "two idiots, one thought"?)
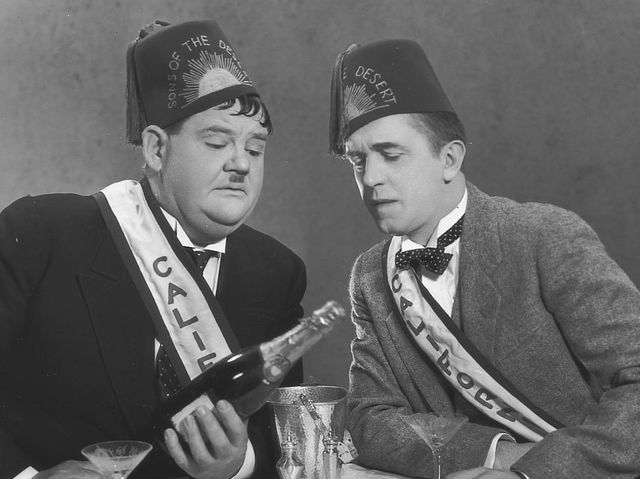
Just as long as you're not Sons of the Desert: motto paraphrased as "two minds without a single thought".

n4gix
Resource contributor
- Messages
- 11,674
- Country

Paul, you can eliminate one step by combining #1 and #2 via the Ctrl-X key combo.Well if you're using Photoshop now with the Nvidia plugin it only takes 5 seconds to adjust the normals map once generated.
1. Copy red channel to alpha channel.
2. Paint red channel pure black.
3. Invert green channel.
4. Paint blue channel pure white.
Ensure that the background color is pure black.
1. Ctrl-A, Ctrl-X the red channel, then Ctrl-V to new Alpha channel